
Last updated September 24, 2026
Attic Insulation Maintenance Checklist for Boerne Homeowners
A single compromised eave baffle, a cardboard channel that costs about $0.40, can channel 110°F attic air directly into blown insulation and cut effective R-value by a third within two cooling seasons. Yet it never appears on a standard home inspection report. In Boerne, where summer attic temperatures routinely exceed 140°F and winter cold fronts drop below freezing, insulation degradation isn’t a sudden failure. It’s a sequence of detectable events: pest intrusion, condensation cycles, settling at the eave baffles, and cracked air-sealing foam at top plates. This guide - along with our Complete Guide to Insulation in Boerne - converts those failure sequences into a one-page annual inspection protocol you can complete with a flashlight, a tape measure, and your phone’s camera.
Quick Answer
Boerne homeowners should inspect attic insulation annually, measuring depth at three zones (hatch, center field, eave edge), checking eave baffles for blockage, photographing depth rulers for comparison, and verifying air-sealing foam integrity at top plates. Minimum acceptable depths are 10 inches for fiberglass (R-30) or 8 inches for cellulose (R-30) at the eave edge, with 14 inches preferred in center field for Climate Zone 2/3 boundary performance. Catching settling, moisture staining, or pest entry early prevents the $3,000-$7,000 cost of full remediation.
Table of Contents
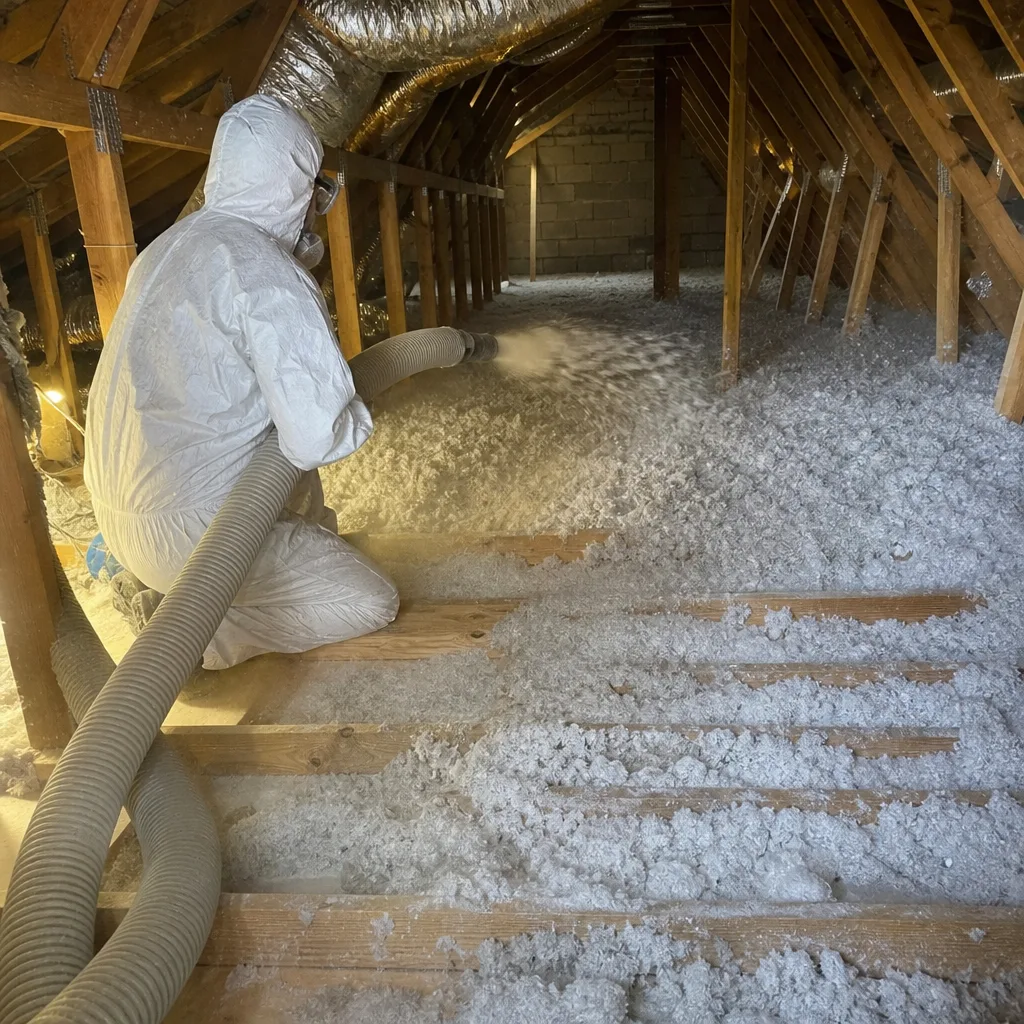
- Depth Measurements: The Three-Zone Protocol
- Moisture Staining: Duct Sweat vs. Roof Leaks
- Pest Entry Points in Boerne Attics
- Eave Baffle Inspection and Replacement
- Air-Sealing Foam Integrity at Top Plates
- Annual Documentation: Your Timestamped Record
- Common Mistakes to Avoid
- When to Call a Professional
- Frequently Asked Questions
Depth Measurements: The Three-Zone Protocol
Insulation settles. That’s expected. What’s not expected is how unevenly it settles in Boerne’s attics, where wind-driven dust from the Hill Country accelerates compression at the eaves and where installers sometimes blow material thin over the attic hatch to avoid stepping through the ceiling.
We use a three-zone measurement system on every Attic Insulation in Boerne assessment. You can replicate it in twenty minutes.
The Three Zones
Zone 1: The Attic Hatch - Measure within 24 inches of the access opening. This is where installers walk, where homeowners store boxes, and where settling is most severe. Minimum acceptable: 8 inches fiberglass or 6 inches cellulose. Less than this indicates either original under-installation or active disturbance.
Zone 2: Center Field - Measure at least 6 feet from any wall, duct, or penetration, in the open attic floor. This is your baseline reading. Minimum acceptable: 14 inches fiberglass (R-38) or 11 inches cellulose (R-38). Boerne sits on the boundary of IECC Climate Zone 2 and Zone 3; R-38 is the practical minimum for either, and R-49 (17-18 inches fiberglass) is preferable for homes built before 2012 energy code adoption.
Zone 3: Eave Edge - Measure within 24 inches of the exterior wall plate, where the roof slope meets the attic floor. This is where baffles fail, where wind washing occurs, and where we find the most dramatic R-value loss. Minimum acceptable: 10 inches fiberglass or 8 inches cellulose. Less indicates baffle collapse, pest activity, or original installation that didn’t extend to the plate.
How to Measure
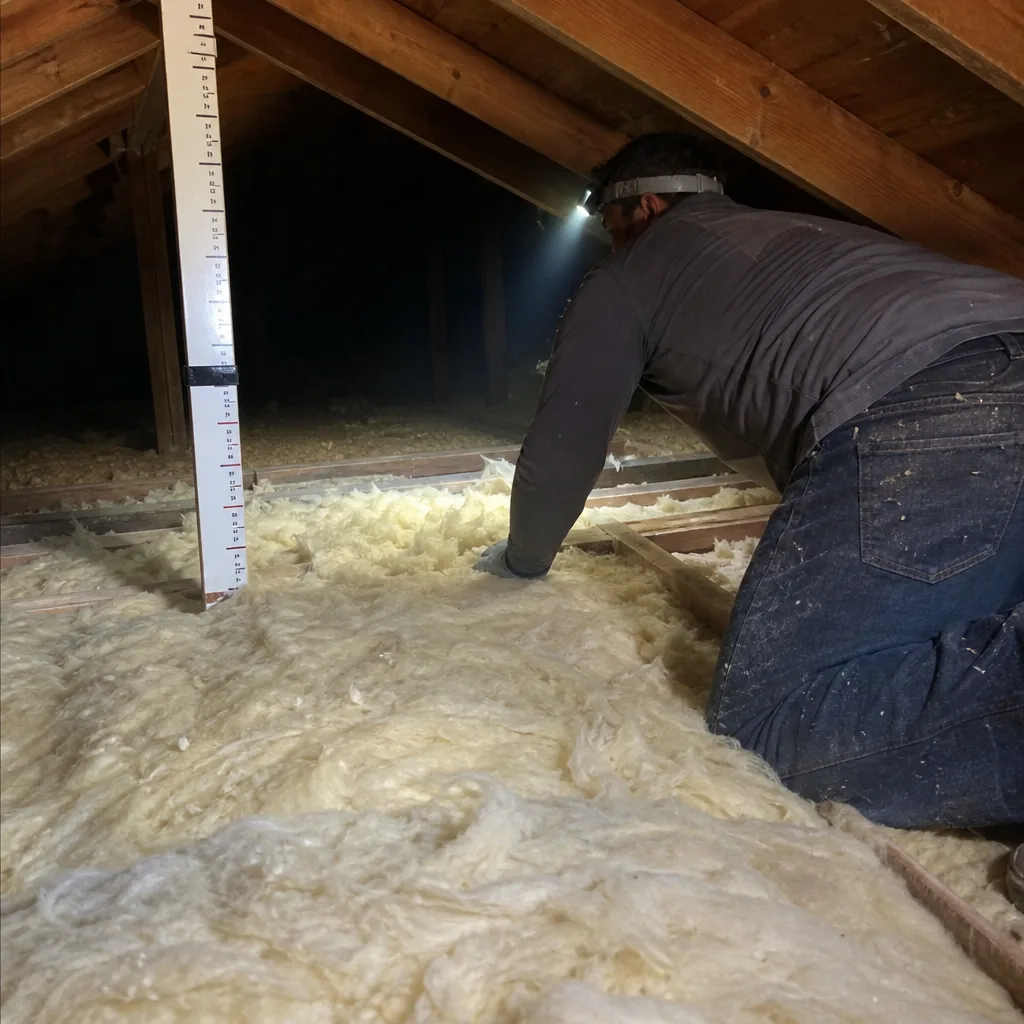
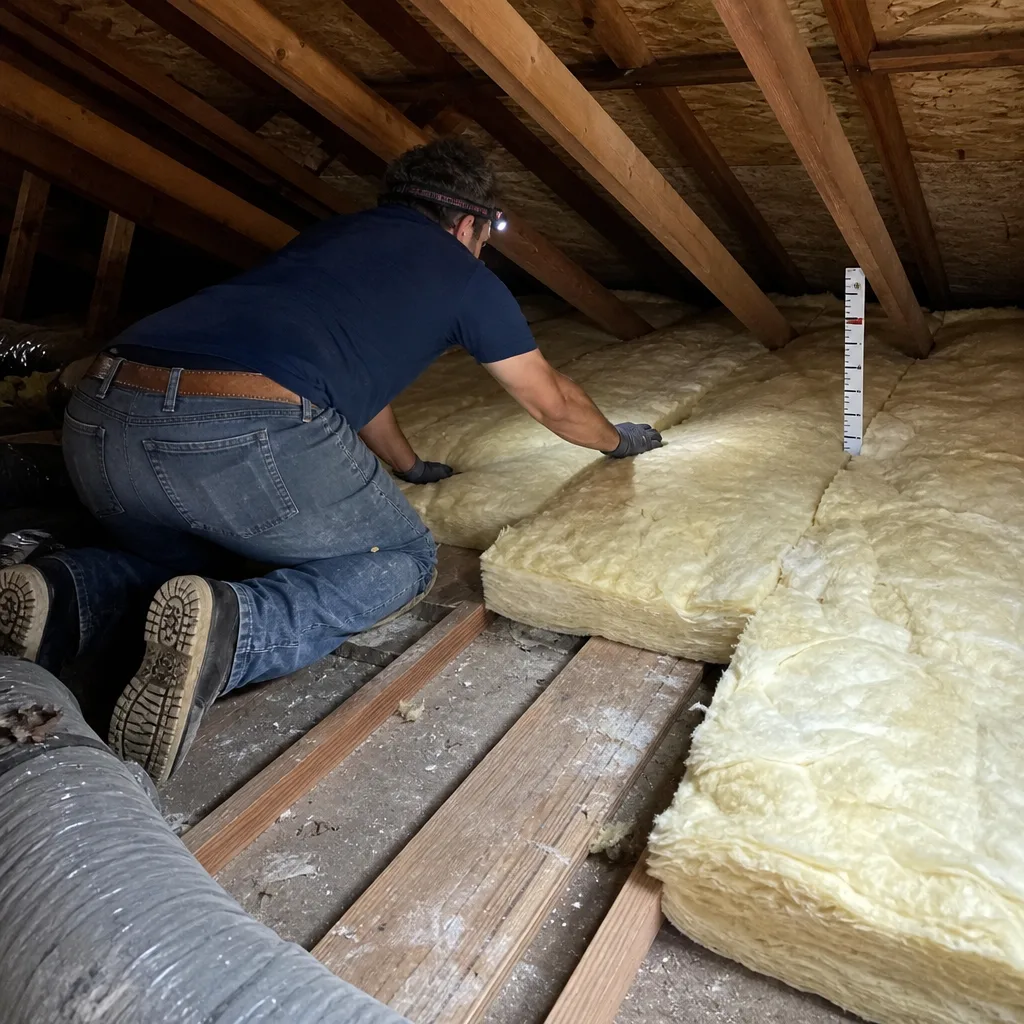
- Press a yardstick or tape measure vertically through the insulation until it contacts the drywall ceiling below.
- Read the depth at the top of the insulation layer, not compressed.
- Take three readings per zone and average them.
- Record the date, outdoor temperature, and any recent weather events.
fiberglass batts, measure to the top of the batt, then lift and check for gaps underneath. Blown fiberglass or cellulose, fluff slightly before measuring - compressed readings understate actual depth by 15-20%.
In our experience across Boerne, from the older homes in Old Town to the newer construction in Balcones Creek, eave-edge readings run 2-4 inches below center field within five years of installation if baffles were omitted or poorly secured. That’s not gradual degradation. That’s a predictable failure mode you can catch early.
Moisture Staining: Duct Sweat vs. Roof Leaks
Not every dark spot on attic sheathing means a roof leak. In Boerne’s climate, with summer dew points in the low 70s and attic temperatures exceeding 140°F, HVAC duct sweating produces staining patterns that look identical to roof leaks but require entirely different repairs. Misidentifying one for the other wastes money and leaves the real problem active.
Duct Sweat Staining
Look for these patterns:
- Staining follows the duct line, darkest at flex-duct connections and metal trunk seams
- Moisture collects on the insulation wrap, then drips to the sheathing below in a linear pattern
- Staining is heaviest in July-September, absent in winter
- No shingle degradation, nail rust, or decking warp above the stain
Duct sweat occurs when cold supply air runs through an attic at 130°F with 20% relative humidity. The duct surface drops below the dew point, and condensation forms. The fix is duct sealing with mastic (not tape) and adding insulation to R-8 minimum on all attic ductwork. In some Boerne homes, particularly those with original 1980s-1990s construction, we’ve found supply trunks wrapped with R-4 fiberglass that acts more like a sponge than a thermal barrier.
Roof Penetration Leaks
Roof leak staining shows differently:
- Staining radiates from a point source: pipe boot, chimney cricket, vent stack, or nail pop
- Decking shows delamination or warp; rafters may have fungal growth
- Staining appears after rain events, regardless of season
- Shingle damage, granule loss, or lifted flashing is visible from the roof surface
The critical distinction: duct sweat is a building science problem solved from inside the attic. Roof leaks are a roofing problem solved from above. We’ve been called to Boerne homes where a roofer had replaced shingles twice while the actual issue was an unsealed duct boot dripping condensation onto the same ceiling patch.
If you find active moisture, photograph the pattern before touching anything. The photo determines whether your next call is to an HVAC contractor, a roofer, or an insulation contractor who can address both the thermal bypass and the moisture source.
Pest Entry Points in Boerne Attics
Boerne’s Hill Country location means active wildlife corridors. Raccoons, gray squirrels, roof rats, and Mexican free-tailed bats all use attics seasonally. The entry points are predictable, and you can identify all four without disturbing insulation or risking a cornered animal.
The Four Common Entry Points
1. Soffit vents with missing or chewed screens
Walk the perimeter with binoculars. Soffit vent screens should be ¼-inch hardware cloth, intact, and secured with staples or screws. In Boerne, we see screens pushed inward by squirrels who then gnaw the opening larger. Look for:
- Insulation fibers protruding from the vent slot (squirrel nesting material)
- Dark staining on the soffit surface below the vent (oil from repeated passage)
- Chewed or missing screen visible from the ground
2. Ridge vent ends
The plastic or metal ridge vent caps at each gable end are secured with nails or screws that loosen in Texas heat cycling. A gap of ¾ inch is enough for a roof rat. Check from the ground with binoculars, or from a ladder at the gable. The end cap should sit flush; any visible gap or lifted edge is active or potential entry.
3. Pipe boots (plumbing vent flashings)
These rubber or lead collars around vent pipes crack in UV exposure. A cracked boot doesn’t just leak water; the gap opens a climbable surface for rodents. From the attic, light the pipe boot from below. Daylight visible around the pipe indicates both water and pest vulnerability.
4. Recessed light rough openings
IC-rated can lights have a metal housing with gaps at the mounting brackets. Non-IC cans are larger openings with no enclosure. Both create accessible cavities. In the attic, look for:
- Insulation disturbed in a circular pattern around the housing
- Droppings concentrated near the light (rodents travel along joists and use vertical surfaces)
- Gnaw marks on the housing edge or cable insulation
What Not to Do
Never seal an active entry without confirming the animal is out. A trapped squirrel will gnaw through drywall to escape. If you find fresh droppings, disturbed insulation, or hear activity, call a wildlife removal specialist first. After exclusion, the insulation in that zone needs inspection for contamination and possible replacement. Topside Attic Insulation Boerne home assessments include this evaluation as part of our documented photo record.
Eave Baffle Inspection and Replacement
The eave baffle is a simple piece of cardboard, foam, or plastic that creates a 1-2 inch air channel between the roof sheathing and the insulation at the eave. Its only job is to maintain soffit-to-ridge airflow while keeping insulation from blocking the vent intake. When it fails, three things happen: insulation compresses against the sheathing, the vent chokes, and attic temperature rises 15-25°F above design.
How Baffles Fail in Boerne
Our climate produces specific failure modes:
- Cardboard baffles absorb humidity from bathroom vents or duct sweat, then sag or collapse
- Wind-driven dust from Hill Country fronts accumulates at the soffit, weighing down lightweight foam baffles
- Installers staple baffles to the wrong surface (roof sheathing instead of top plate), so they detach when insulation settles
- Baffles are omitted entirely in eaves where the roof pitch is low and access is difficult
Inspection Protocol
- At the attic hatch, identify which exterior walls have soffit vents (not all do; some Boerne homes use gable vents only)
- Move carefully to the eave edge, distributing weight across joists
- Shine light down the rafter bay toward the soffit. You should see daylight at the vent slot and a clear channel above the insulation
- If insulation blocks the vent, or if no baffle is visible, mark the location
Replacement
Baffles cost $0.40-$2.50 each depending on material. For a typical Boerne home with 20-30 rafter bays needing baffles, material cost is under $75. Installation requires:
- Staple gun with ½-inch staples
- Baffles sized to your rafter spacing (typically 24-inch on-center in post-1990 construction, 16-inch in older homes)
- Extension pole or careful positioning to reach the eave without compressing insulation
The critical detail: baffles must extend from the top plate (the horizontal framing member at the wall top) to at least 4 inches past where the insulation will finish. A baffle that stops short of the plate leaves a gap where wind enters the insulation directly. We’ve found this exact condition in Fair Oaks Ranch homes where the original installer used 24-inch baffles in 30-inch rafter bays.
If your inspection reveals multiple failed baffles, compressed insulation at the eave, or signs of moisture cycling, the repair scope extends beyond baffle replacement. That’s when a Spray Foam Insulation in Boerne consultation makes sense for the air-sealing component, or when full insulation replacement with proper prep becomes the honest recommendation.
Air-Sealing Foam Integrity at Top Plates
This is the one structural check that determines whether you’re looking at a top-up or a full remediation. Top plates, the horizontal framing members where wall studs meet the ceiling, are the single largest source of conditioned air loss in most Boerne attics. In a typical 2,000 square foot home, the combined crack length at top plates exceeds 300 linear feet. Unsealed, it’s equivalent to a 2-square-foot hole in your ceiling.
What to Look For
Air sealing at top plates is done with:
- Two-part spray foam (expanding polyurethane, typically yellow or tan)
- Acoustic sealant (gray, remains flexible)
- Fire-rated caulk at penetrations
- Mastic at duct boots and electrical boxes
Inspect along the top plate line, where the drywall ceiling meets the wall framing. In the attic, this is where the ceiling drywall edge is visible between joists or trusses.
Failure Indicators
Cracked or separated foam: Polyurethane foam cures rigid. Thermal cycling between 140°F attic summer and 40°F winter causes it to pull away from wood or drywall. Look for gaps between the foam bead and the framing, or cracks running through the foam body.
Dust streaks on insulation: Air movement through a gap carries dust that deposits on the insulation surface. A clean line of darkening along the top plate indicates active leakage. In Boerne’s dusty environment, these streaks appear within two years of seal failure.
Thermal bypass at interior walls: Interior walls have top plates too, and they’re rarely sealed in original construction. Look for the drywall edge between parallel joists; unsealed, it’s a direct path from conditioned space to attic.
The Decision Point
If top plate sealing is intact with minor cracking, targeted repair with acoustic sealant is sufficient. If foam is extensively failed, missing at interior walls, or was never applied (common in pre-2012 construction), the honest scope is full air sealing before any insulation work. At Envelope Insulation Co., we treat this as a hard prerequisite, not an upsell. We’ve published before-and-after blower-door numbers on every applicable job since 2016 so homeowners can verify the result.
For Boerne homeowners, this matters specifically because our temperature swings stress sealant materials more than coastal Texas climates. A home in Corpus Christi sees narrower thermal cycling; the same foam installation lasts longer there. Hill Country attics are a harsher test.
Annual Documentation: Your Timestamped Record
The most powerful tool in this checklist isn’t the tape measure. It’s the photograph with a date stamp. Before any contractor visit, you want a record that establishes baseline condition, proves change over time, and prevents disputes about whether damage is new or pre-existing.
The Three-Photo Minimum
Each annual inspection, take:
- Depth ruler at center field: Place a yardstick vertically, photograph with the attic framing visible for scale, include a handwritten date card or phone timestamp
- Depth ruler at eave edge: Same protocol, showing baffle condition in the same frame if possible
- Top plate condition: Close-up of the sealant or foam along a representative section, with framing members visible for location reference
Store these in a dedicated folder with naming convention: [Address]_[Zone]_[Date]. Cloud storage with automatic backup prevents loss if your phone fails.
Why This Matters for Boerne Homeowners
Insurance claims for water damage increasingly require documentation of maintenance. A 2023 claim denied in Kendall County cited “lack of evidence of periodic inspection” for attic moisture damage that developed over three years. The homeowner had no photos, no measurements, no record.
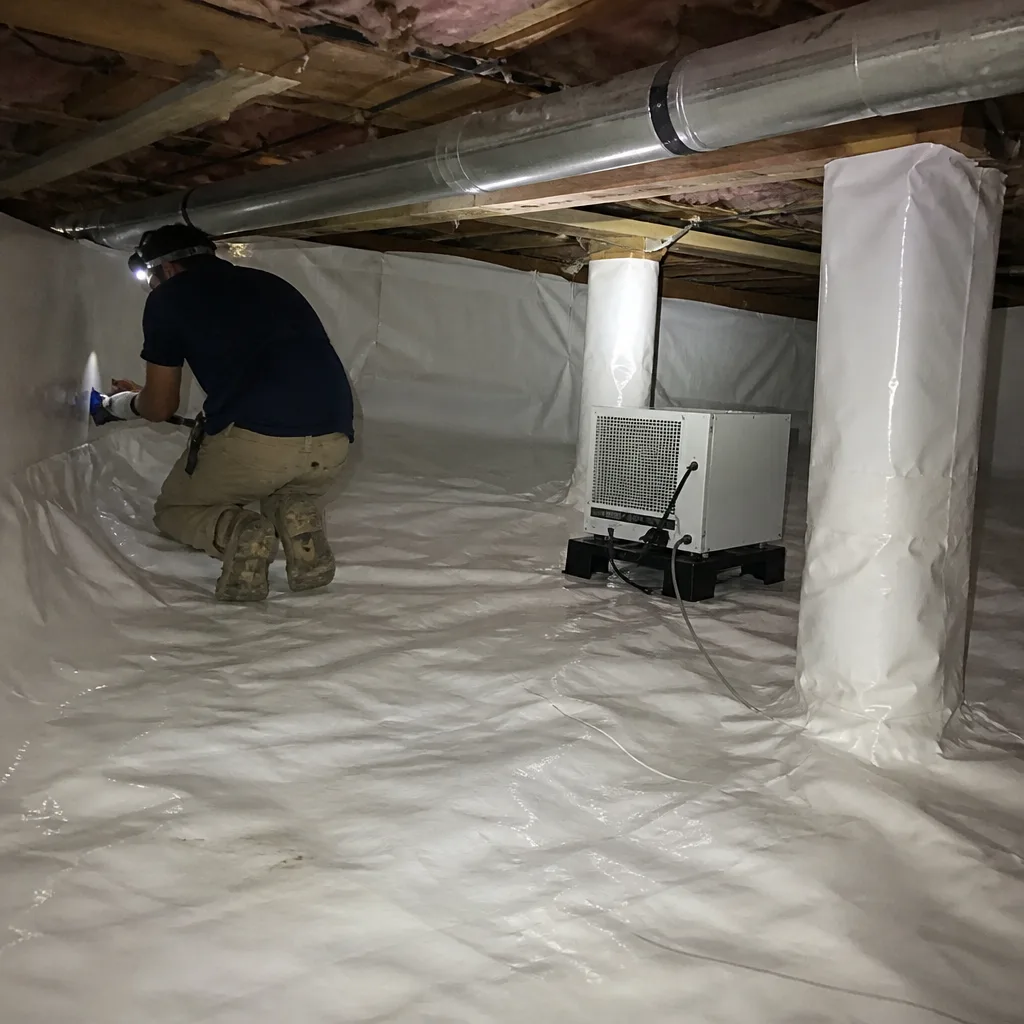
More immediately, when you do call a contractor, your photo record streamlines the estimate. We can review timestamped images before visiting, identify whether the issue is within our scope or requires roofing or HVAC work first, and arrive with appropriate materials. The Crawl Space Encapsulation & Vapor Barrier in Boerne assessments we perform use the same documentation standard - photos, measurements, written findings - because the crawl space and attic are a single pressure boundary. What happens in one affects the other.
For homeowners in Boerne’s newer developments like The Dominion or Cordillera Ranch, this documentation also establishes a performance baseline against which to measure future degradation. A home with R-49 at year two that shows R-30 equivalent at year eight has a specific problem: settling, disturbance, or ventilation failure. Without the record, you’re guessing.
Common Mistakes to Avoid
- Measuring only at the attic hatch. This is the most walked-on, most disturbed zone. Center field and eave edge readings tell the real story; hatch measurements alone can overstate condition by 30%.
- Compressing insulation while measuring. Step on joists, not insulation. A footprint in blown fiberglass takes months to recover, and your measurement that day understates actual depth by the compression you caused.
- Ignoring winter inspections. Ice dam risk in Boerne is low but not zero. A January cold front with sustained below-freezing temperatures and existing heat loss through the ceiling can produce edge melting and refreeze. Winter attic inspection reveals thermal bypasses that summer hides.
- Sealing attic vents to “improve efficiency.” We’ve found Boerne homes with soffit vents blocked by homeowners who read that attic ventilation “wastes” conditioned air. It doesn’t. Ventilation removes moisture and reduces peak sheathing temperature. Blocked vents cause condensation damage that costs far more than any theoretical savings.
- Adding new insulation over failed air sealing. This is the most expensive mistake. New insulation over unsealed top plates, duct boots, and electrical penetrations simply hides the leaks. The homeowner pays for material that performs at half its rated R-value because convective airflow bypasses it.
- Using fiberglass batt “to fill gaps” around irregular penetrations. Batts don’t seal. They filter. Air passes through, leaving dust streaks and defeating the insulation value at that location. Proper air sealing uses foam, caulk, or mastic; insulation follows.
- Neglecting to check after roof work. Any roofing job disturbs attic conditions. Nails penetrate decking; workers compress insulation walking to vents; ridge vent replacement changes airflow patterns. Inspect within 30 days of roof completion.
When to Call a Professional
Some conditions exceed homeowner inspection scope. Call for professional assessment if you find: active pest infestation with droppings or nesting material; moisture staining that has reached the ceiling drywall below; insulation depth below 6 inches at any zone in a home built after 2006; cracked or missing air sealing at more than 20% of visible top plate; or any electrical issues including exposed junction boxes, damaged conduit, or rodent-gnawed wiring.
Attic Insulation services from Topside Attic Insulation Boerne include free estimates in Boerne. Call (830) 529-7780. Every estimate includes a written price before any work starts, a documented photo record of findings, and for applicable jobs, before-and-after blower-door readings so you can verify the air-sealing result. The 365-Day Done Right Promise applies to all completed work.
Frequently Asked Questions
Inspect annually, ideally in late spring after the first heat wave and again in late fall before cold fronts arrive. Boerne’s climate produces two distinct stress periods: summer attic temperatures that accelerate material degradation, and winter cold snaps that reveal thermal bypasses. An annual inspection catches both. Call (830) 529-7780 if you find conditions outside the minimums in this guide - estimates are free.
Boerne sits on the IECC Climate Zone 2/3 boundary. For Zone 2, code minimum is R-30 (10 inches fiberglass, 8 inches cellulose at the eave edge). For Zone 3, it’s R-38 (14 inches fiberglass, 11 inches cellulose). We recommend treating Boerne as Zone 3 for attic insulation because winter design temperatures reach 25°F, and the Hill Country’s wind exposure increases effective heat loss. Most attic insulation jobs in a home this size run between $2,800 and $5,400 for full replacement with proper air sealing prep. Call (830) 529-7780 for a written price specific to your home.
Check for daylight at every soffit vent from inside the attic; blocked vents show no light and often have insulation piled against them. Ridge vents should show continuous light along the peak. In Boerne, we look for 1 square foot of net free vent area per 300 square feet of attic floor with a vapor barrier, or 1:150 without. A simple test: on a still, sunny day, the attic should be no more than 20°F above outdoor temperature. If it’s 95°F outside and 140°F in the attic, ventilation is inadequate. That temperature differential accelerates shingle degradation and drives moisture into ductwork.
Only if the old insulation is dry, uncontaminated, and the air sealing beneath it is intact. Wet or pest-contaminated insulation must be removed. Old fiberglass with significant settling can be topped with new blown material, but the interface creates a density discontinuity that reduces effective R-value by 5-10%. For optimal performance, we prefer removal and replacement with a single, uniform material - Owens Corning, Johns Manville, or GreenFiber blown systems installed to specified depth with verified coverage. The honest answer depends on what your inspection reveals; bring your photos to a free estimate and we’ll tell you whether top-up or full replacement is the right scope.
Musty odor without visible water indicates slow moisture accumulation from air leakage, not bulk water intrusion. Warm, humid indoor air escapes through ceiling penetrations and condenses on cold sheathing during overnight temperature drops. The moisture doesn’t accumulate enough to stain but supports fungal growth on dust-coated surfaces. The fix is air sealing at top plates, penetrations, and the attic hatch - not more ventilation, which can actually worsen the problem by increasing air exchange. We’ve traced this exact condition in Boerne homes where the homeowner had added a powered attic ventilator that increased infiltration from the house below.
Open-cell spray foam (Demilec or equivalent, 3.5 inches minimum for R-13, or 5.5 inches for R-20) and closed-cell (2 inches for R-12, 3 inches for R-19) offer superior air sealing compared to fiberglass because they expand to fill irregular cavities and adhere to framing. The trade-off is cost: spray foam insulation in a typical Boerne attic runs $4,500-$8,500 versus $2,800-$5,400 for blown fiberglass with separate air sealing. For homes with complex geometry, limited access, or significant air leakage, foam’s sealing advantage often justifies the premium. For straightforward attics with good access and manageable leakage, blown fiberglass with meticulous air sealing prep achieves comparable performance at lower cost. We specify based on blower-door testing, not product preference.
The Bottom Line
Attic insulation in Boerne degrades through detectable, predictable sequences. Annual inspection using the three-zone depth protocol, moisture pattern identification, pest entry assessment, eave baffle verification, and top plate seal integrity check catches problems while they’re still maintenance items, not remediation jobs. Document everything with dated photographs. Know the minimum depths for your climate zone. Distinguish duct sweat from roof leaks before calling any contractor. And understand that insulation performance depends on air sealing first - a principle we’ve applied to over 9,000 homes since 2016, every one with a written price before work started and a documented record when the crew left. For more guides & resources, see our blog.
Written by Wes Okafor, Owner at Topside Attic Insulation Boerne, serving Boerne since 2016.